
3D Model Construction and Viewing, a Progress
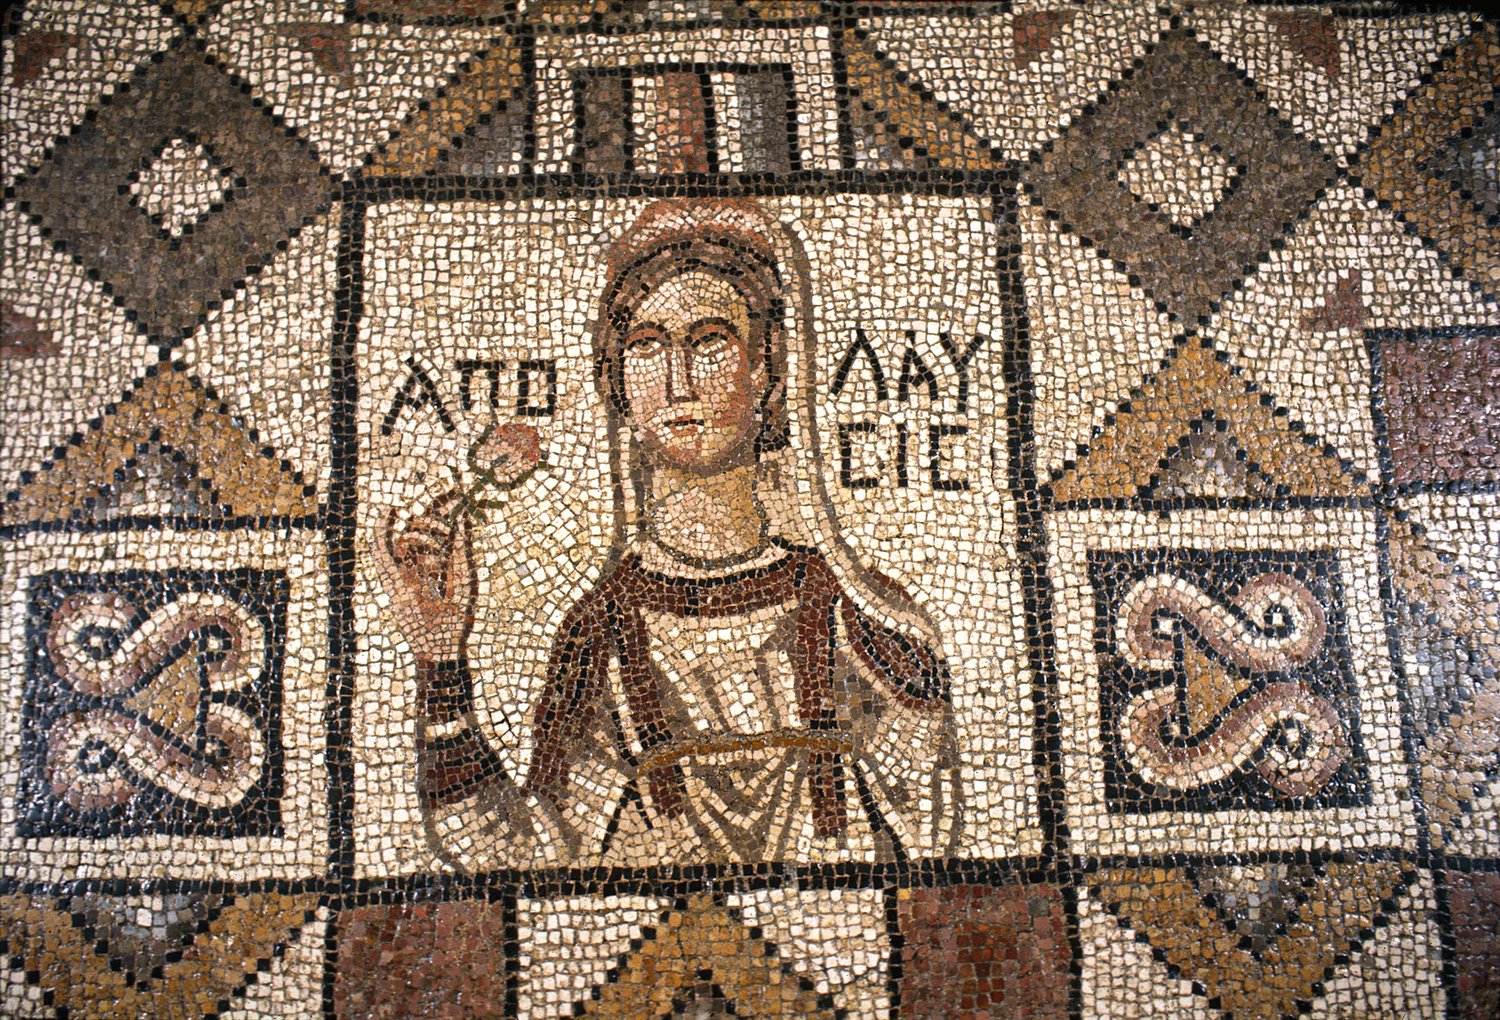
In general, my focus has been on the public-facing side of research. As the website is currently functional, my focus has shifted to our desire to construct a 3D model of an ancient house in Antioch, with its actual mosaics placed properly.
The two necessary components for this project are a program to create the house, and a program to display it. For the first, Sketchup was chosen, both for its free cost, and its focus on architectural 3D modeling. For the second, Unity was, at least for now, chosen. Both for its free cost, as well as my desire to improve the viewing experience. While free 3D model viewers would be by far the simplest option, I don’t believe that viewing a model in that model is conducive towards actually experiencing mosaics as they were designed to be displayed, which is the entire idea of constructing the model. While they may be in the proper places in the house, you still wouldn’t be looking down at them, as instead you’d be zooming and spinning around the model from above. Thus, I feel that the only way to fully see the mosaics in a new way would be to embed the whole house into a more traditional first-person perspective, common in games.

By following some tutorials, this simple test house was constructed in Sketchup Free. The tools available in this program seem adequate for the level of detail we can conceivably get in our model, so from that perspective no other modeling software seems necessary. Some issues did arise when transporting this model into Unity, however:

Because of limitations in Sketchup Free, when exporting the model into Unity, the textures become lost. Thus, unless other solutions are found, we will need to either purchase an upgraded form of Sketchlab, or simply do the texturing within Unity. Unlike Unreal Engine, Unity doesn’t seem to come with built in first-person controls, so those needed to be constructed from scratch (also from a tutorial).
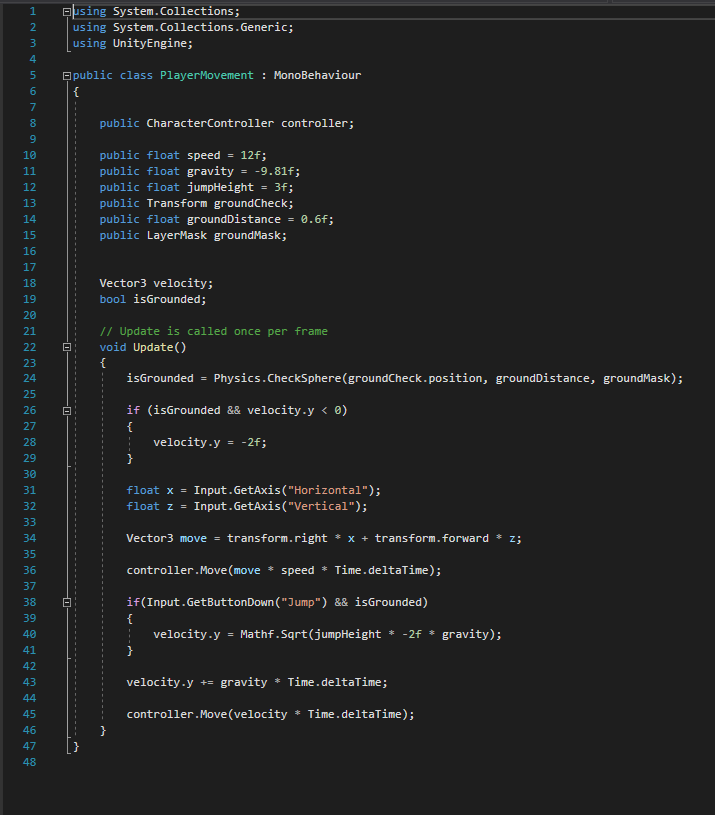
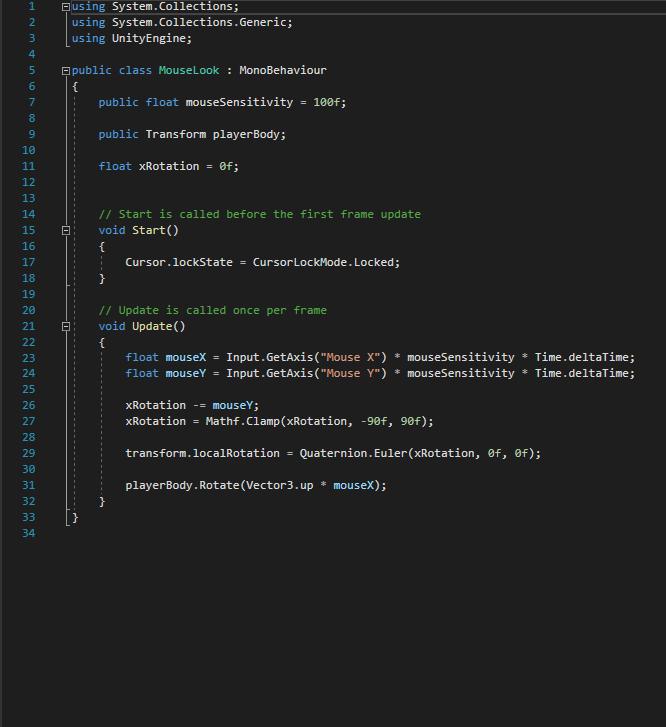
Code against a gray background
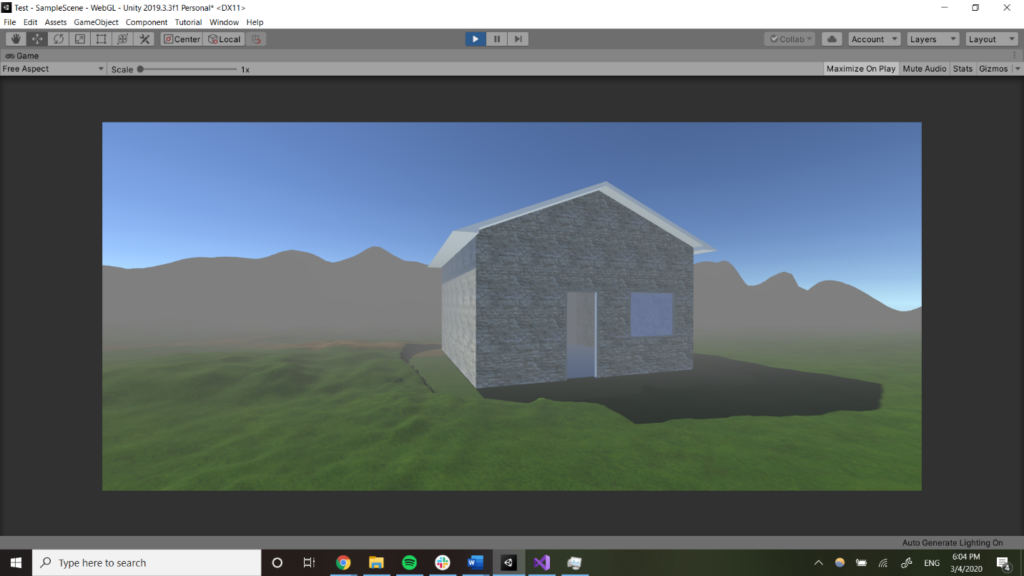
The left image is the code for movement throughout the ‘game’, and the right image is for looking around the ‘game’. Next, a sample terrain, along with a sample stone brick texture were downloaded from the Unity Asset Store, and the result follows:
Finally, this program was built, and imported into this website using the Verge3D plugin. It can be tested, in its extremely prototyped stage, at antiochrecoveryproject.org/gametest.
Next steps: Most importantly for the success of the project is the fixing of the texture issue. As free solutions are always best, I’ll be looking into possible methods of properly importing textures into Unity or learning how to manually import desired textures into Unity for texturing within the program. Also necessary is the construction of the actual model, as true to life as possible, using archaeological drawings as reference.
Benjamin Balfanz